
The complete guide
The Honest Buyer's Guide to Ceramic Headlight Restoration Kits
Why headlights go cloudy in the first place
Almost every headlight made in the last few decades uses moulded plastic rather than glass. Plastic is lighter, cheaper to shape into complex forms, and far less dangerous if something hits it. The trade-off is that plastic does not love sunlight.
From the factory, the lens carries a thin protective coating on the outside. That coating takes the UV hit so the plastic underneath does not have to. Over years of parking in the sun, going through car washes, and getting sandblasted by road grit at highway speed, the coating wears thin and then breaks down. Once it fails, the plastic itself starts to oxidize.
That is the haze you are looking at. A dull, chalky, slightly yellow film sitting on the outer face of the lens. Run a finger over a badly oxidized headlight and you can often feel it, a faint roughness where there used to be smooth gloss.
The important thing to understand is where the damage lives. On most hazy lenses, it is on the outside. That is why a surface treatment can do something about it. If the problem were inside the housing, no product applied to the outer face would ever reach it.
How a three step kit works
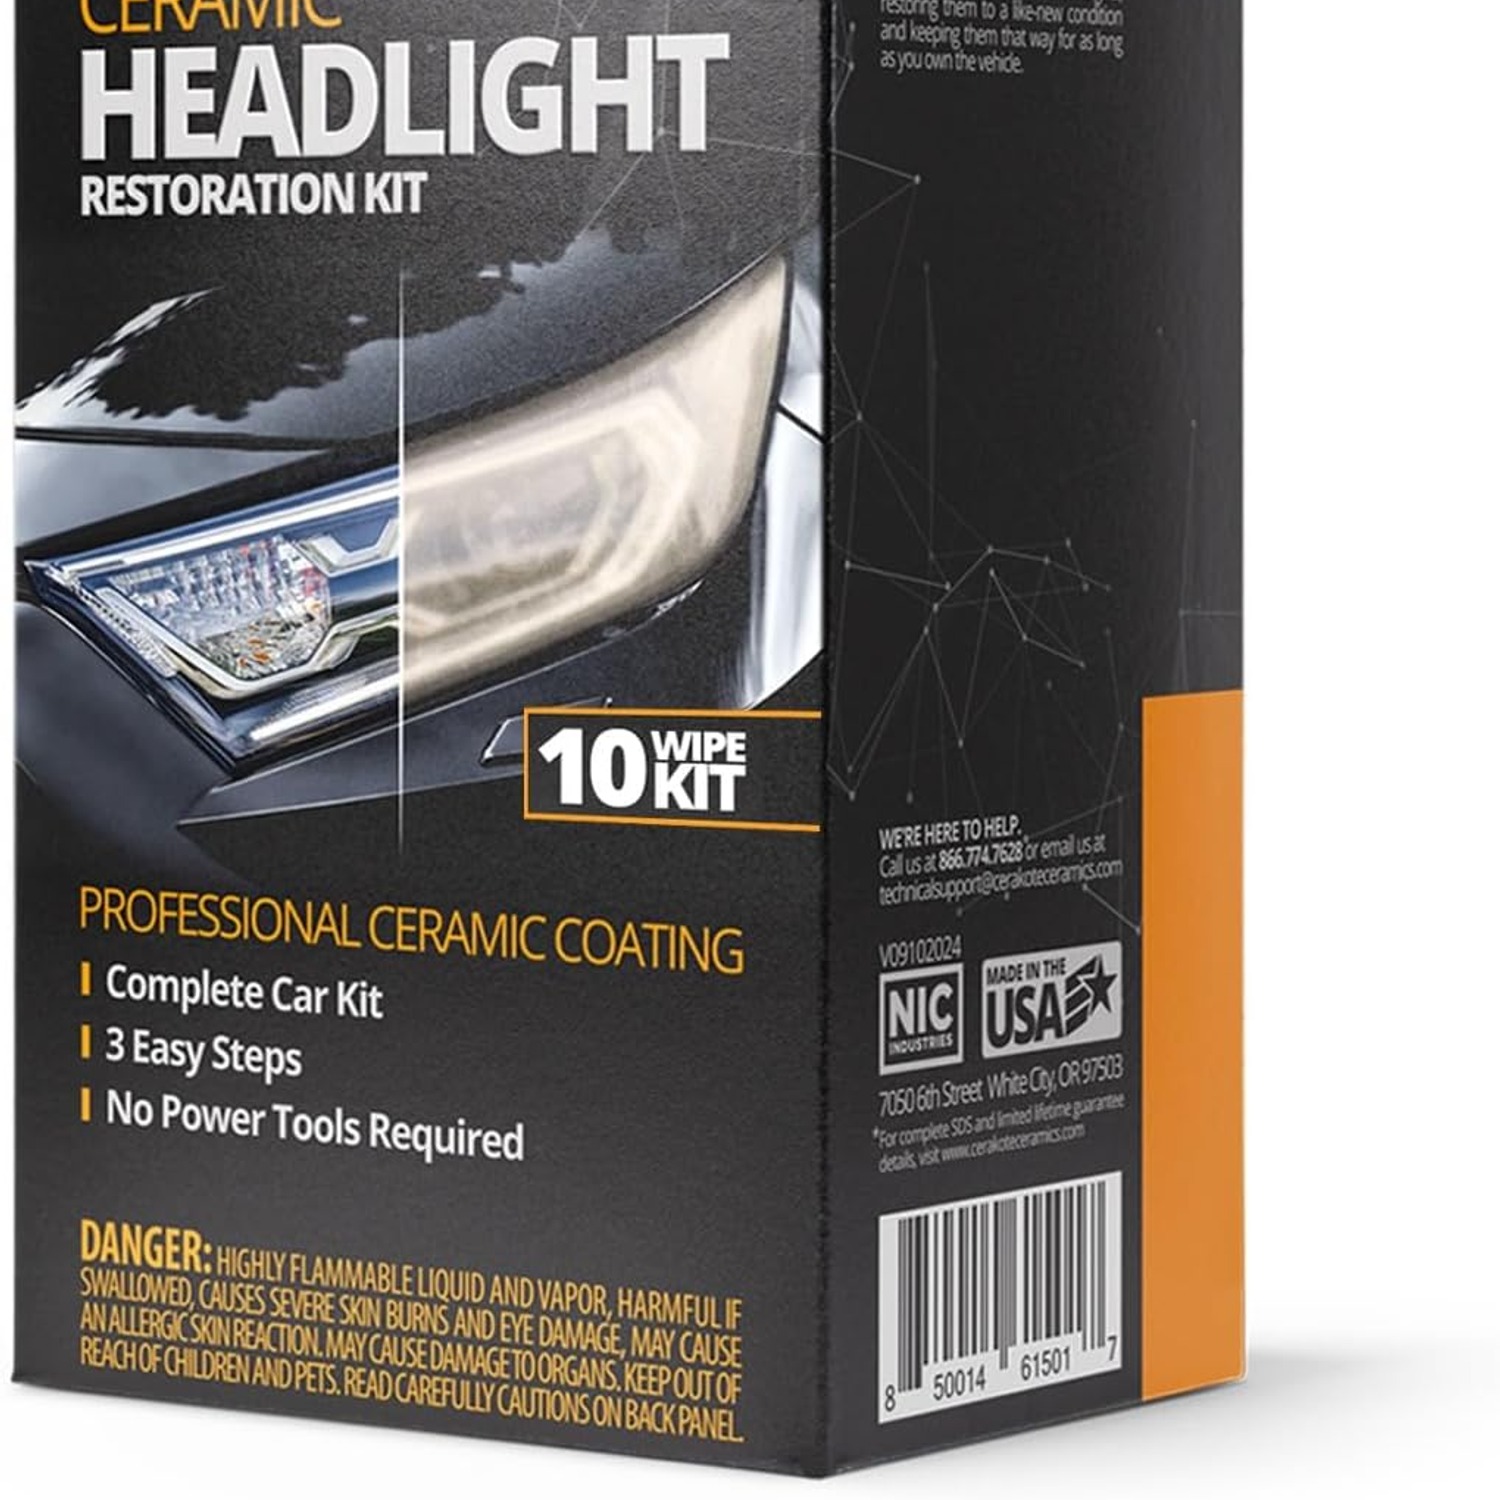
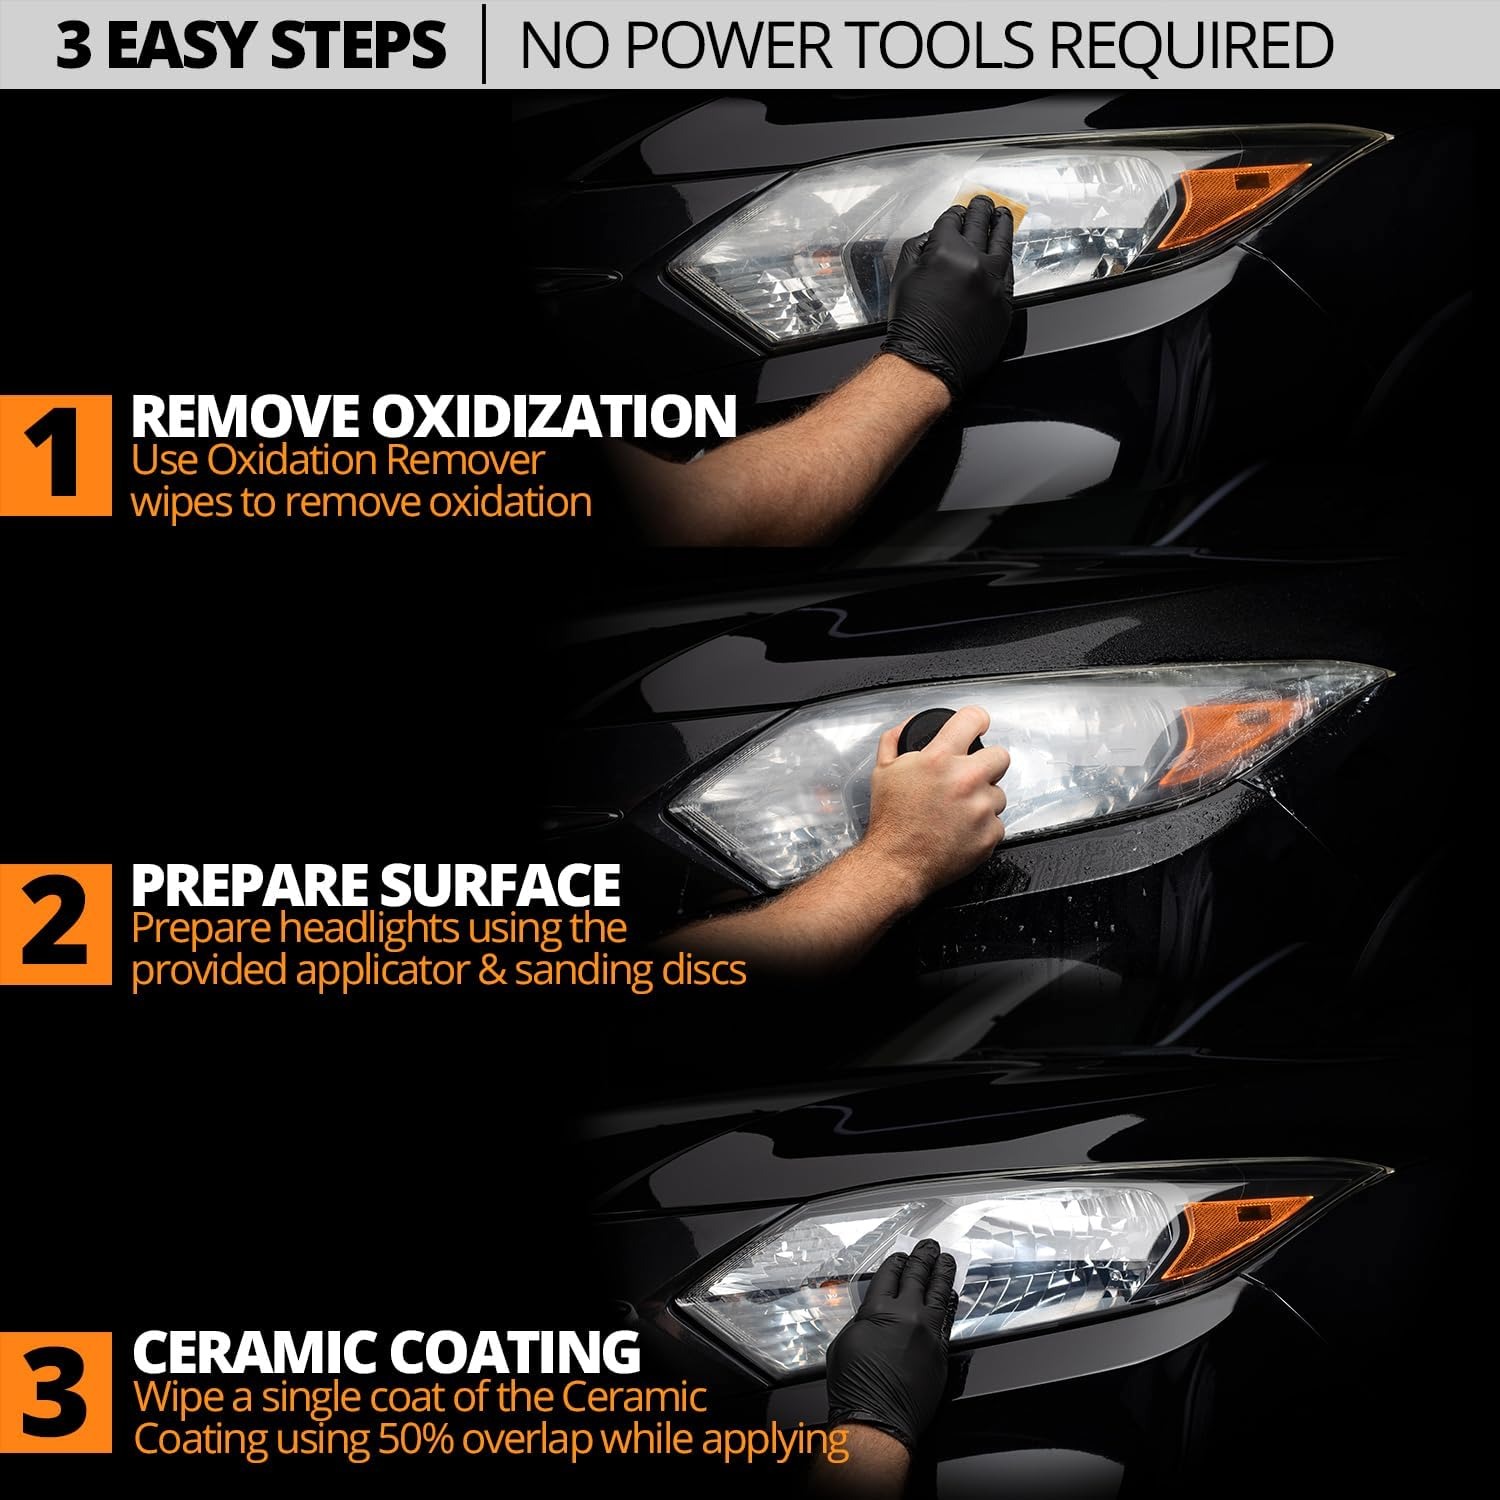
This ceramic headlight restoration kit splits the job into three parts, and each part has a specific role.
The first step uses oxidation remover wipes. These take off the surface oxidation, the loose top layer of degraded plastic and the grime bound up with it. On a moderately hazy lens you will often see a noticeable change right here, but this step alone is not the finish line.
The second step is a hand held surface prep pad. Oxidation is not a single flat layer, it goes down into the plastic to some degree. The prep pad works on that deeper oxidation and, just as importantly, leaves the surface in the right condition for the coating to grab onto. People who skip this step are the ones who end up with a patchy, streaky result a week later.
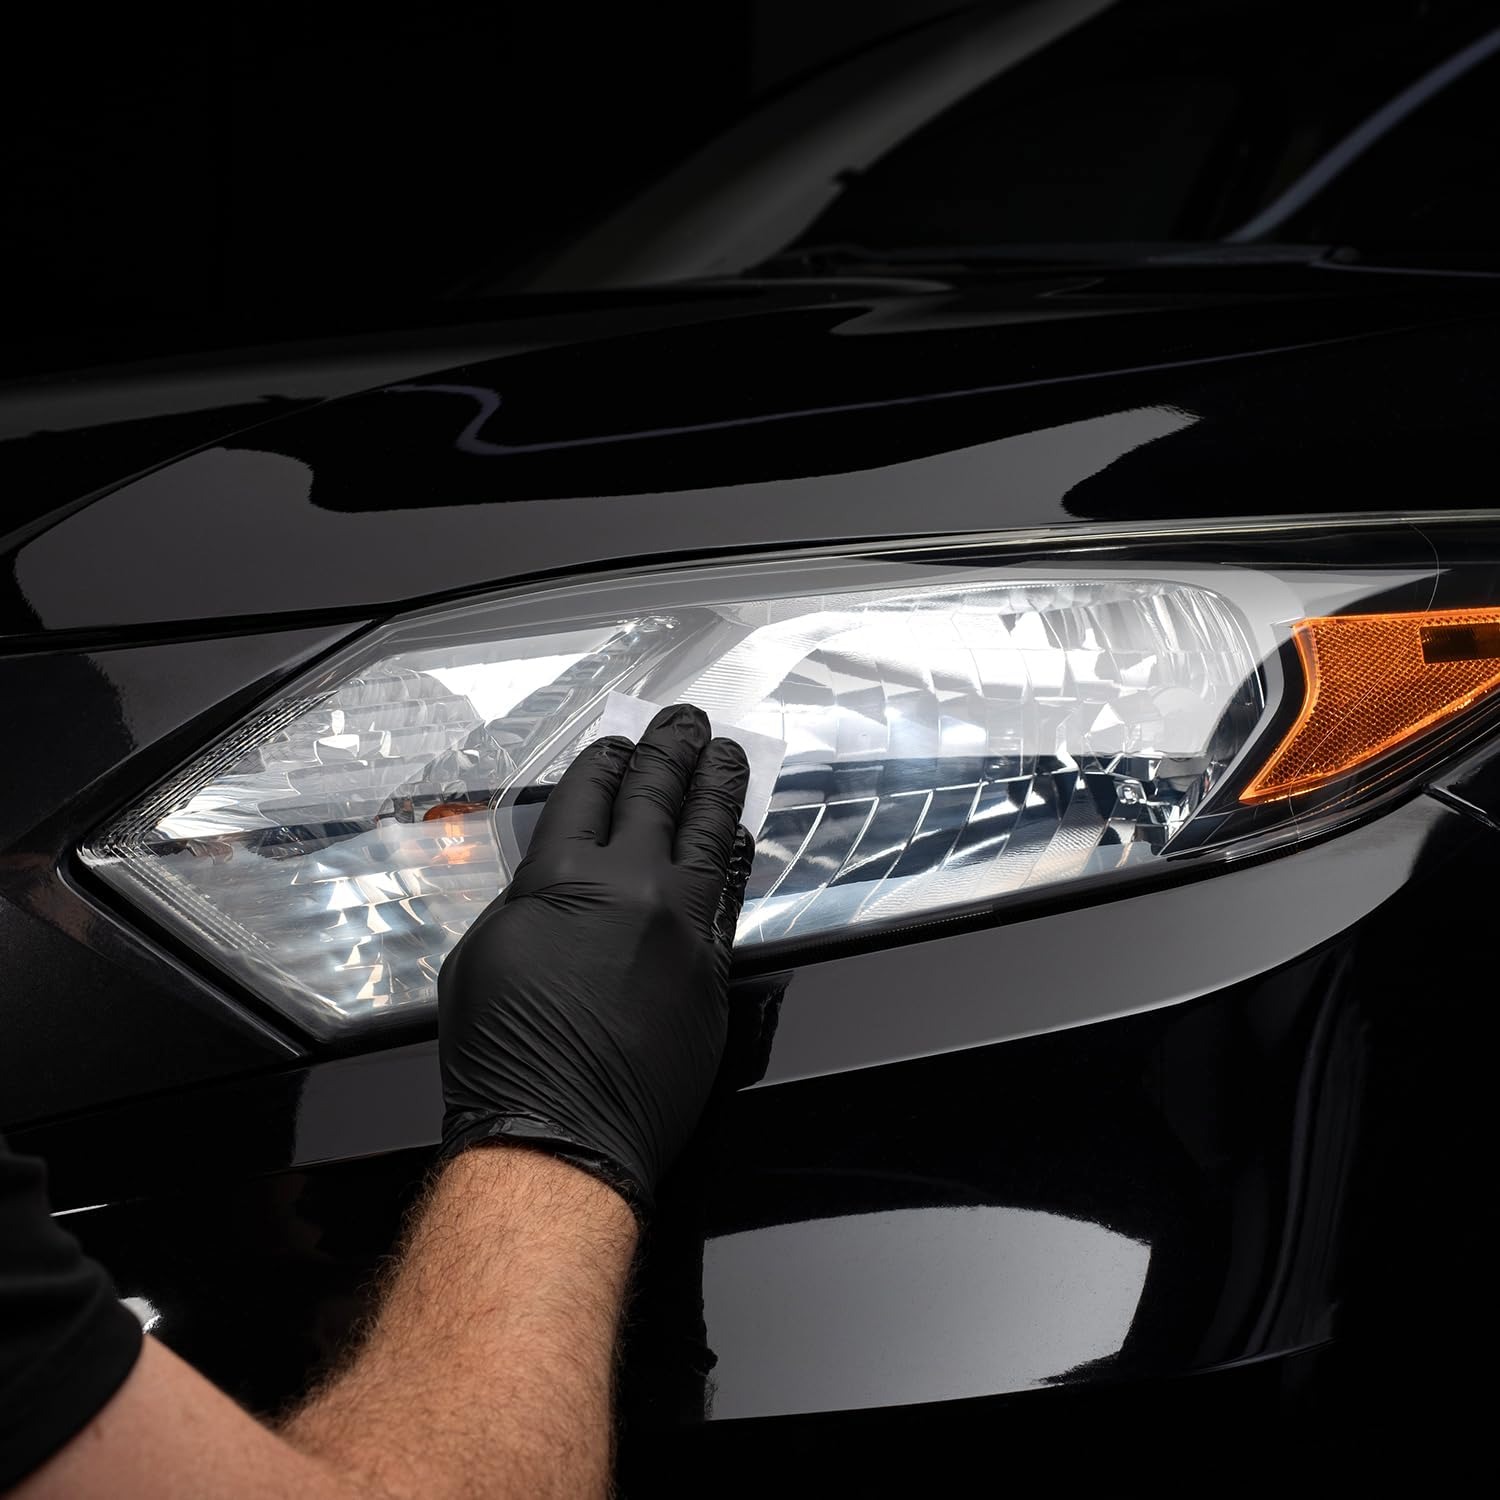
The third step is the ceramic coating, applied from pre-moistened wipes. This lays a clear ceramic layer across the lens that bonds to the plastic and brings UV protection back to a surface that lost its factory protection years ago. It is the step that both finishes the look and seals the work you just did.
No power tools come into it at any point. No drill, no polisher, no compressor, no sanding discs. That matters more than it sounds, because machine polishing plastic lenses is genuinely easy to get wrong. A hand process is slower but far more forgiving.
Who this kit suits
It suits the owner of a car that is perfectly good but is starting to look tired at the front. Older vehicles, cars that live outdoors, anything that spends summers parked in the sun. The body might be fine and the interior clean, but two cloudy lenses age the whole front end.
It suits people who want a job they can finish in one sitting. About 30 minutes, start to finish, is a realistic afternoon task. You do not need to clear a weekend or book a detailer.
It suits beginners. There is nothing here that punishes a lack of experience. You wipe, you work the pad, you wipe again. The main skills required are patience and following the order of the steps.
It is less useful if your lenses are damaged rather than oxidized. More on that next, because it is the single most common mismatch between what people expect and what any restoration kit can deliver.
What a restoration kit cannot do
Being straight about limits is more useful than overselling.
Deep cracks in the plastic cannot be fixed from the outside. If you can feel a crack with a fingernail rather than just roughness, you are looking at structural damage to the lens, and the honest answer is replacement.
Moisture or fogging inside the housing cannot be touched either. That is behind the lens. It usually means a seal has failed somewhere, or a vent is blocked, and it is a lamp assembly problem rather than a surface problem. You can polish the outside to a mirror and the inside will still look foggy.
Crazing, the fine spider-web pattern that forms down inside the plastic on some badly weathered lenses, sits below the surface. A surface treatment improves the top but cannot reach what is underneath.
And results in general depend on where you start. A lens with light to moderate yellowing has a lot of room to improve. A lens that has been baking for fifteen years in a hot climate will improve, but it may not come all the way back, and anyone who promises otherwise is guessing.
Getting a good result
Preparation does more for the outcome than anything else.
Wash the lamp first and dry it properly. Grit on the surface is abrasive, and you do not want to be dragging it around while you work. Two minutes with a hose and a wash mitt is enough.
Mask the surrounding paint and trim with tape. The edge of a headlight sits right against bodywork, and masking gives you a clean line to work to without worrying about what you are touching. It also makes the finished edge look sharper.
Test on a small part of the lens before you commit to the whole surface. You will learn how the product behaves on your particular lens, and you will know what to expect before you are halfway through.
Work in the shade with good light. Direct sun dries things faster than you want and makes it hard to judge what you are seeing. Overcast conditions or a shaded driveway are better than bright midday sun.
Follow the steps in the order given. Each one sets up the next. The temptation to jump to the coating because the first wipe already looks better is the most common mistake, and it usually shows up later as uneven patches.
Looking after the result
Once the coating is on, treat the lens like fresh paint.
Wash with ordinary car shampoo and a soft mitt. Skip the strong solvents, skip the degreasers, and absolutely skip scouring pads and kitchen scrubbers. Those will work against the coating.
Park in the shade when you reasonably can. UV is what caused the problem in the first place, and less sun exposure means a slower return to haze.
We are not going to put a number on how long the finish holds. It varies with climate, washing habits, how much sun the car sits in and the condition of the lens when you started. Anyone quoting a precise figure for every car is making it up.
Store leftover wipes sealed. The ceramic wipes are pre-moistened, and leaving the packaging open will dry them out.
Choosing between options
If you compare kits, the questions worth asking are simple.
Does it need power tools? A hand kit is slower but much harder to ruin. If you have never machine polished anything, a hand process is the safer bet.
Does it include a coating step, or does it just clean? Cleaning alone strips the haze and leaves bare, unprotected plastic exposed to the same UV that caused the damage. A kit with a protective coating step addresses that, which is the main reason people search out the best ceramic coating for headlights rather than a polish on its own.
How much does it cover? This one is specified for one vehicle. If you have two cars in the driveway, plan for two kits rather than hoping one will stretch.
How long will it take? Thirty minutes is a reasonable commitment. Kits that want hours of wet sanding are a different kind of project.
The short version
Cloudy headlights are usually surface oxidation on plastic lenses, caused by the factory UV coating wearing out. This three step kit removes that oxidation, prepares the surface, then applies a clear ceramic coating that bonds to the lens and adds UV protection.
It covers one vehicle, takes about 30 minutes, and needs no power tools. Everything required is in the box.
Wash first, mask the surrounding paint, test a small area, work in the shade, and follow the steps in order. Expect a real improvement on hazy and yellowed lenses. Do not expect it to fix cracks, internal moisture, or damage below the surface, because nothing applied to the outside can reach those.
If you are not sure which category your lenses fall into, ask us before you buy. We would rather tell you honestly that a kit will not solve your problem than sell you one that cannot.