
The complete guide
The Honest Guide to Polishing Cloudy Headlights and Clear Plastic
The slow fade nobody notices until they do
Headlight lenses do not go cloudy overnight. They fade a little each year, and because you see your car every day, your eyes adjust along with it. Then one afternoon you park next to a newer car, glance across, and the difference is obvious. Yours look milky and a bit yellow. Theirs look like glass.
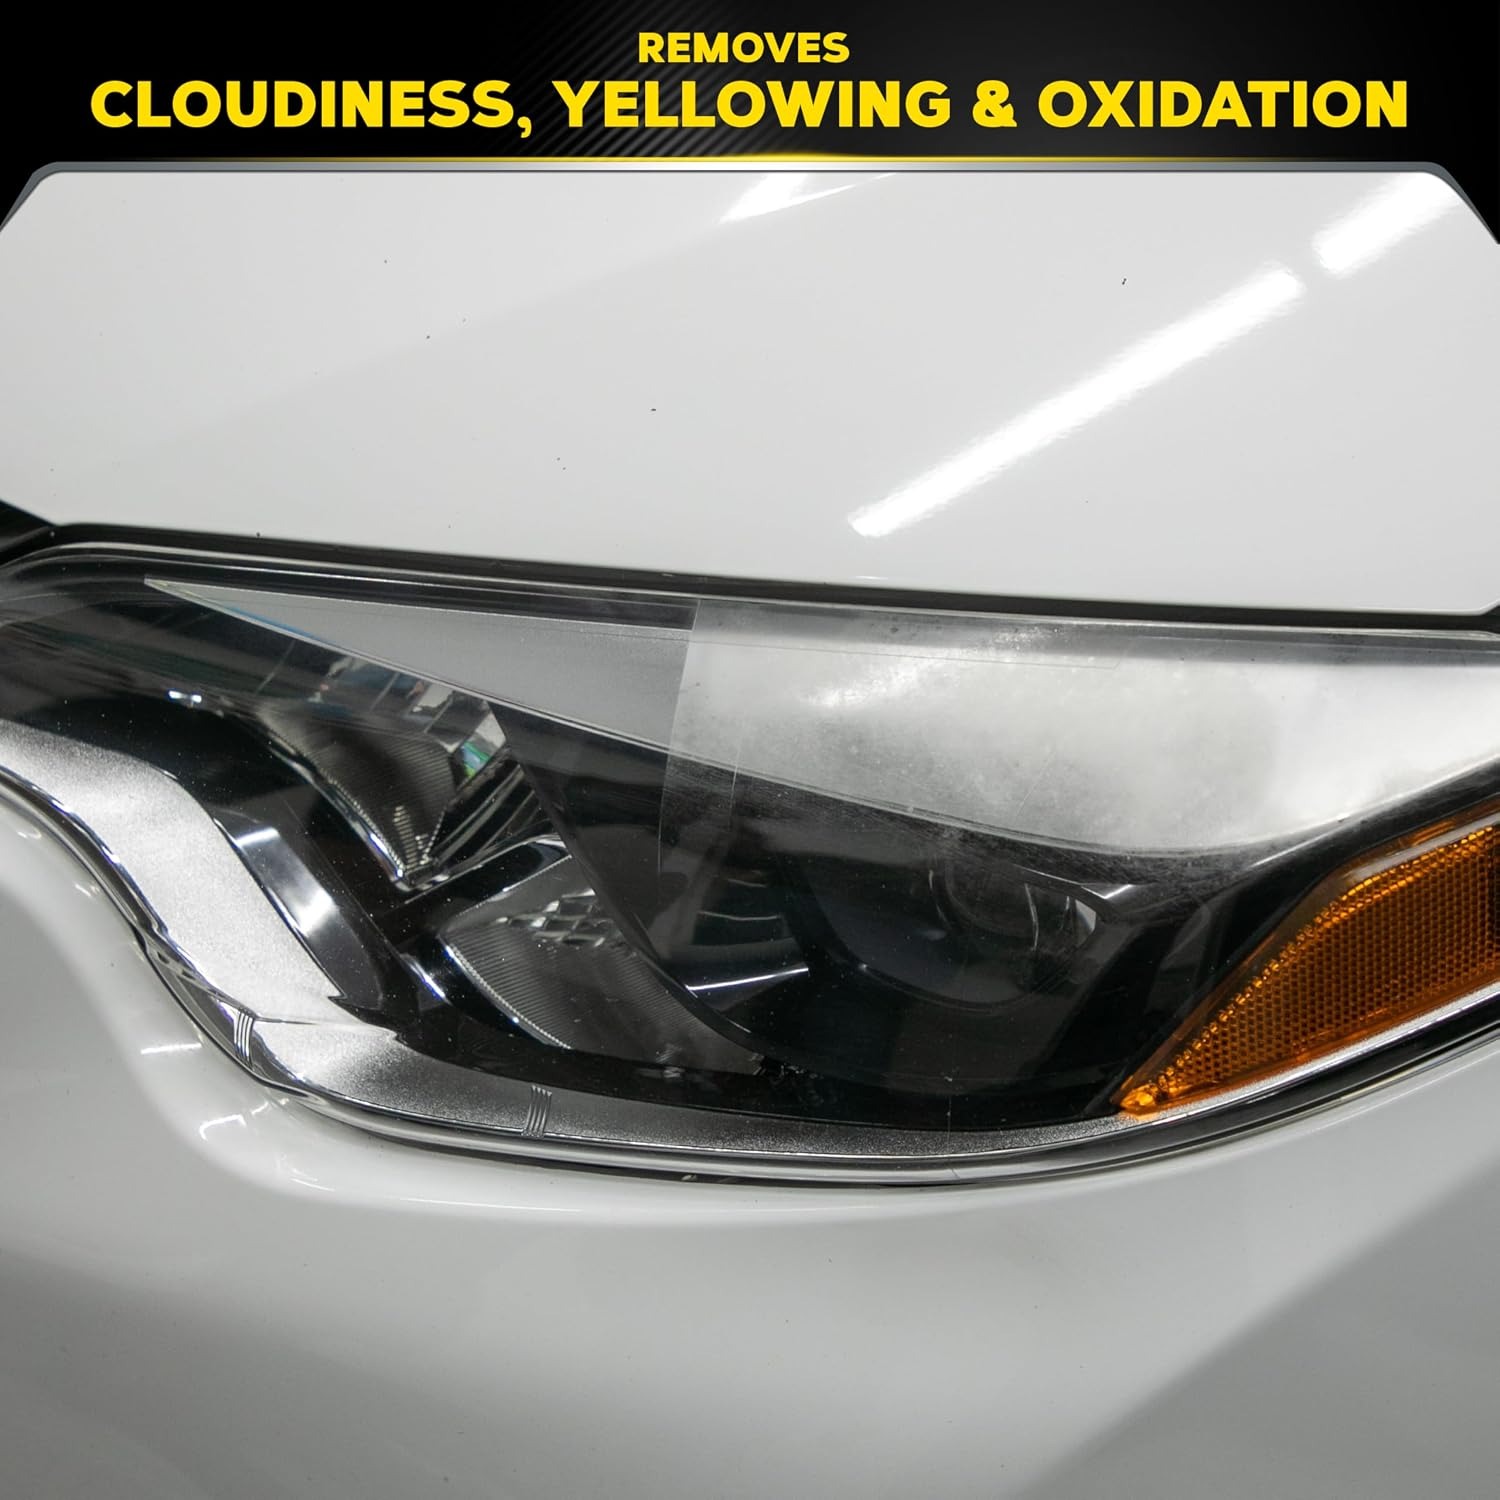
That haze is a surface problem on the outside of the plastic. Sun, heat, road grit, bug splatter, car wash brushes and ordinary weather all work on that face over time. The outer layer oxidises and roughens, light scatters instead of passing straight through, and the lens looks dull from any angle.
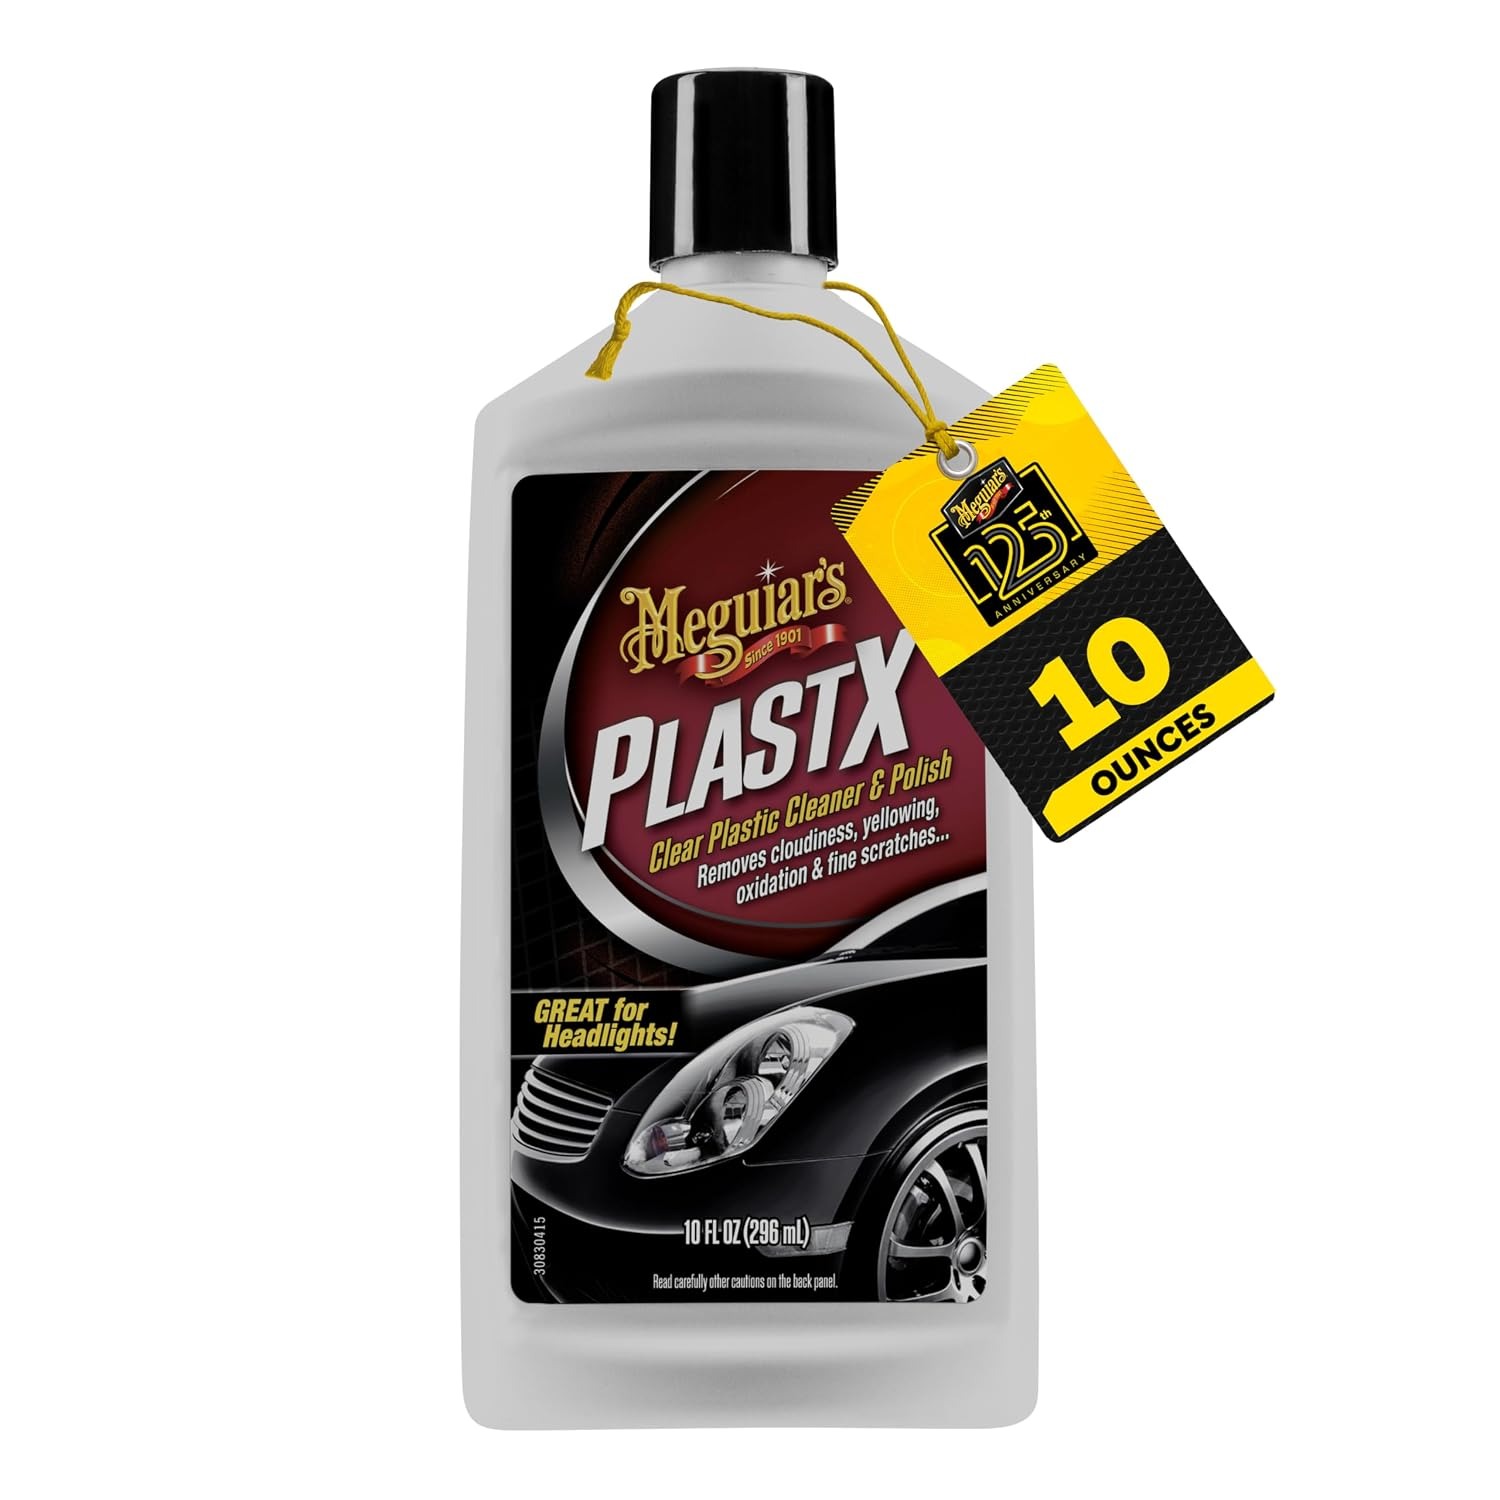
This is what a clear plastic cleaner and polish is for. It is a one step product in a 296 ml bottle, applied by hand with a soft cloth, designed to lift cloudiness, yellowing, oxidation and fine scratches from uncoated clear plastics. It is not a repair for everything a lamp can suffer, and it is worth being clear about that up front. But for a tired outer surface, it is a straightforward tool.
How a fine polish actually works
The word abrasive makes people nervous, so it helps to know what is going on. The formula carries very small cutting particles. The listed grit is fine, which means those particles are small enough to remove a thin layer of plastic and refine what is left, rather than hack into it.
When you rub the product over the lens with a cloth, you are taking away the degraded top layer and smoothing the surface underneath. A smoother surface scatters less light, so the lens looks clearer. That is the whole idea, and it is why a fine micro-abrasive is well suited to hand application. You are in control of the pressure and the pace, and there is no spinning pad building heat against a lamp housing.
Because it is a one step cleaner and polish, cleaning and polishing happen in the same pass. You are not laying down a cleaner, wiping, then switching bottles. That matters more than it sounds when you are crouched beside a bumper.
What it suits, and what it does not
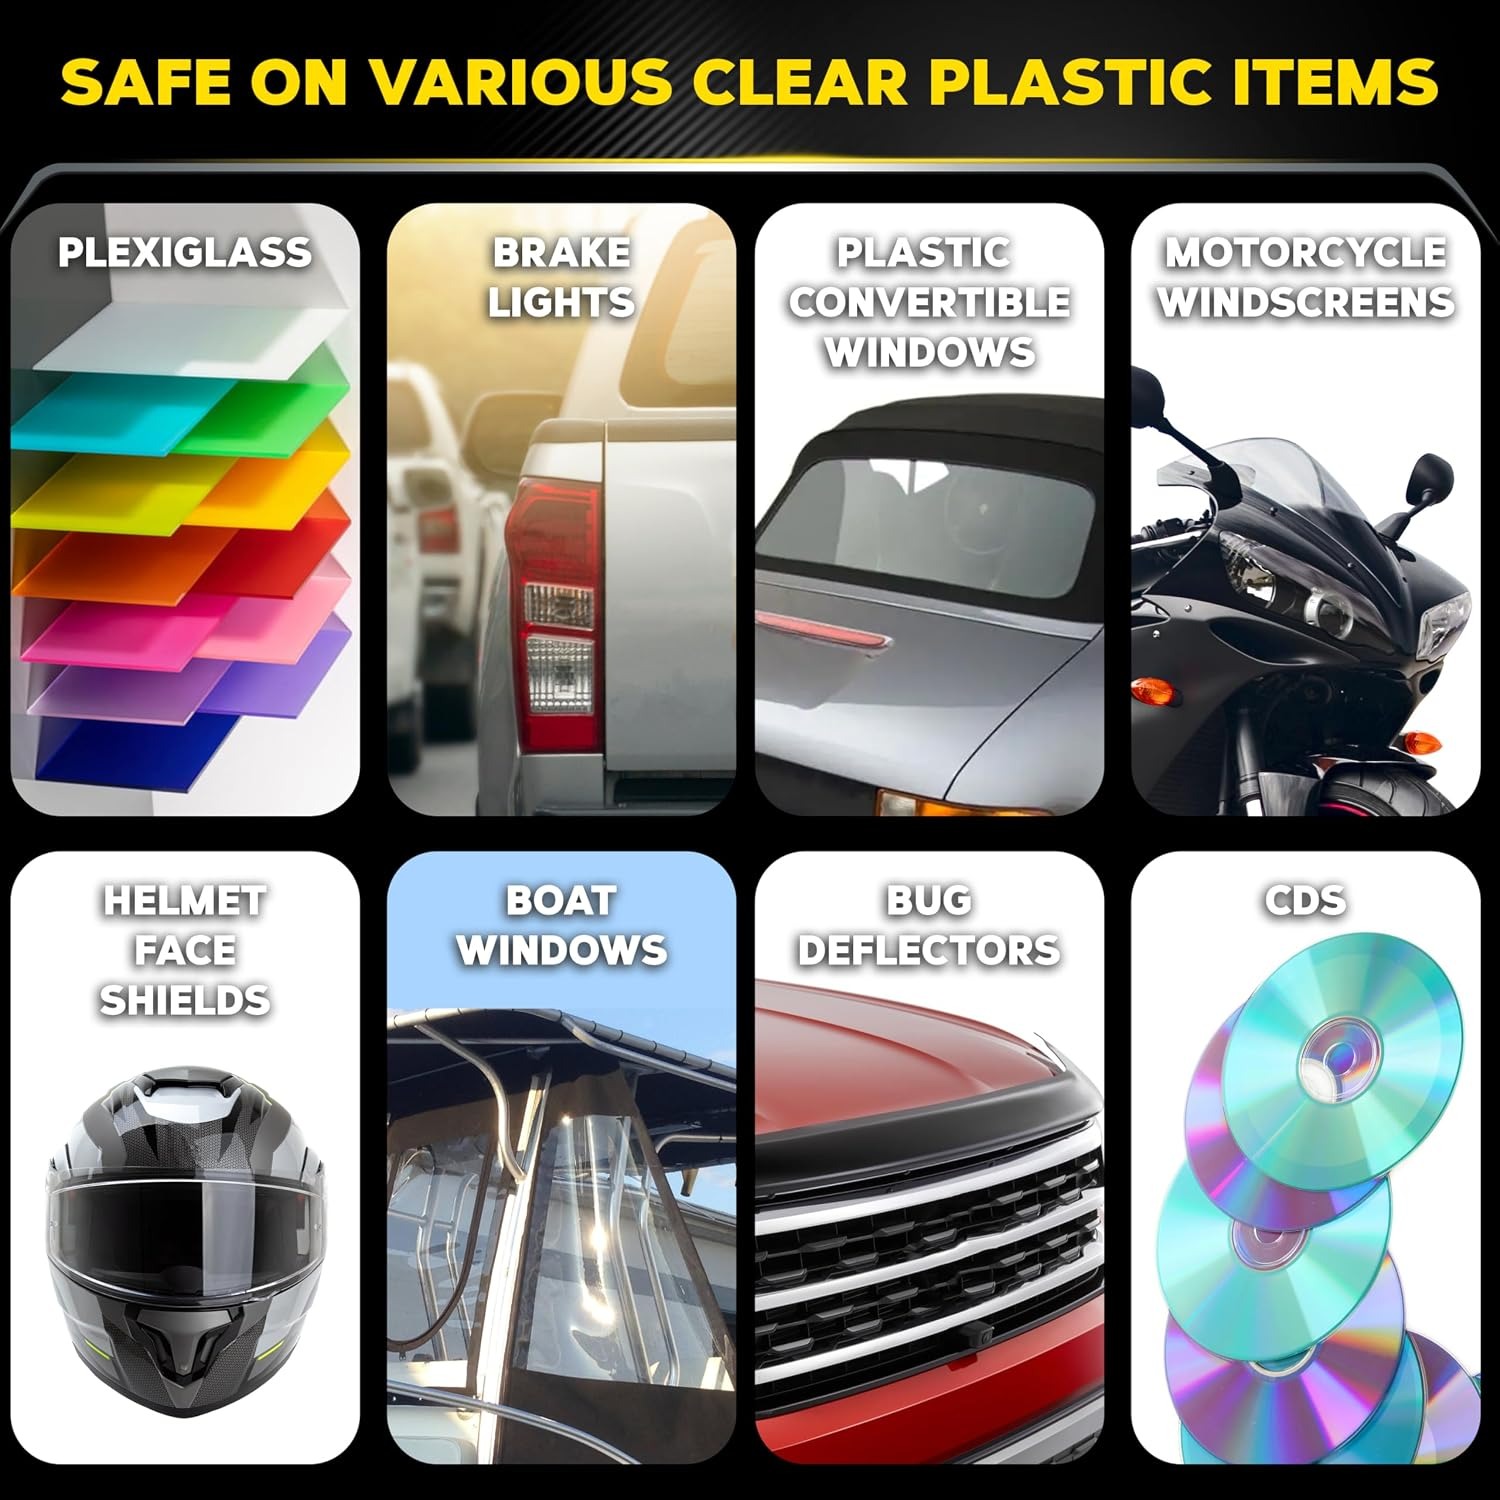
The listed surfaces are uncoated clear plastics, both rigid and flexible. In practice that covers headlights, brake light lenses, plastic convertible windows and plexiglass. The flexible part is worth noting, because a lot of polishes are only comfortable on rigid panels, and convertible windows are a common trouble spot.
Here is the honest part. Results depend on the condition of the lens you start with. A lens with light haze and shallow surface marks is the best case. A lens with deep cracks is a different situation, and no external polish reaches a crack. If there is moisture sitting inside the lamp, that is a sealing problem on the inside of the unit, and polishing the outside will not change it. Damage on the inner face of the plastic is the same story. You can only treat what your cloth can touch.
Knowing that before you start saves disappointment. Look closely at the lens in good light. If the haze wipes clear-ish when you wet it with water, the problem is on the outside, and a polish is the right call. If the lens looks foggy from the inside or you can see water droplets, you are looking at a different job.
On its own, or with a kit
There are two sensible ways to use this bottle.
The first is on its own. If the lenses have gone a little dull but are otherwise sound, a hand polish may be all they need. This is the quick afternoon version, where you clean, polish, wipe and stand back.
The second is as a top-up alongside a headlight restoration kit. Kits usually involve sanding stages to take down heavier oxidation, then a finishing step. A bottle of fine polish sits naturally at the end of that process, and it is also what you reach for later when you want a maintenance pass without pulling the whole kit out again. Keeping a bottle on the shelf means the follow-up job is easy, which is usually the difference between a job that gets done and one that does not.
Doing the job properly
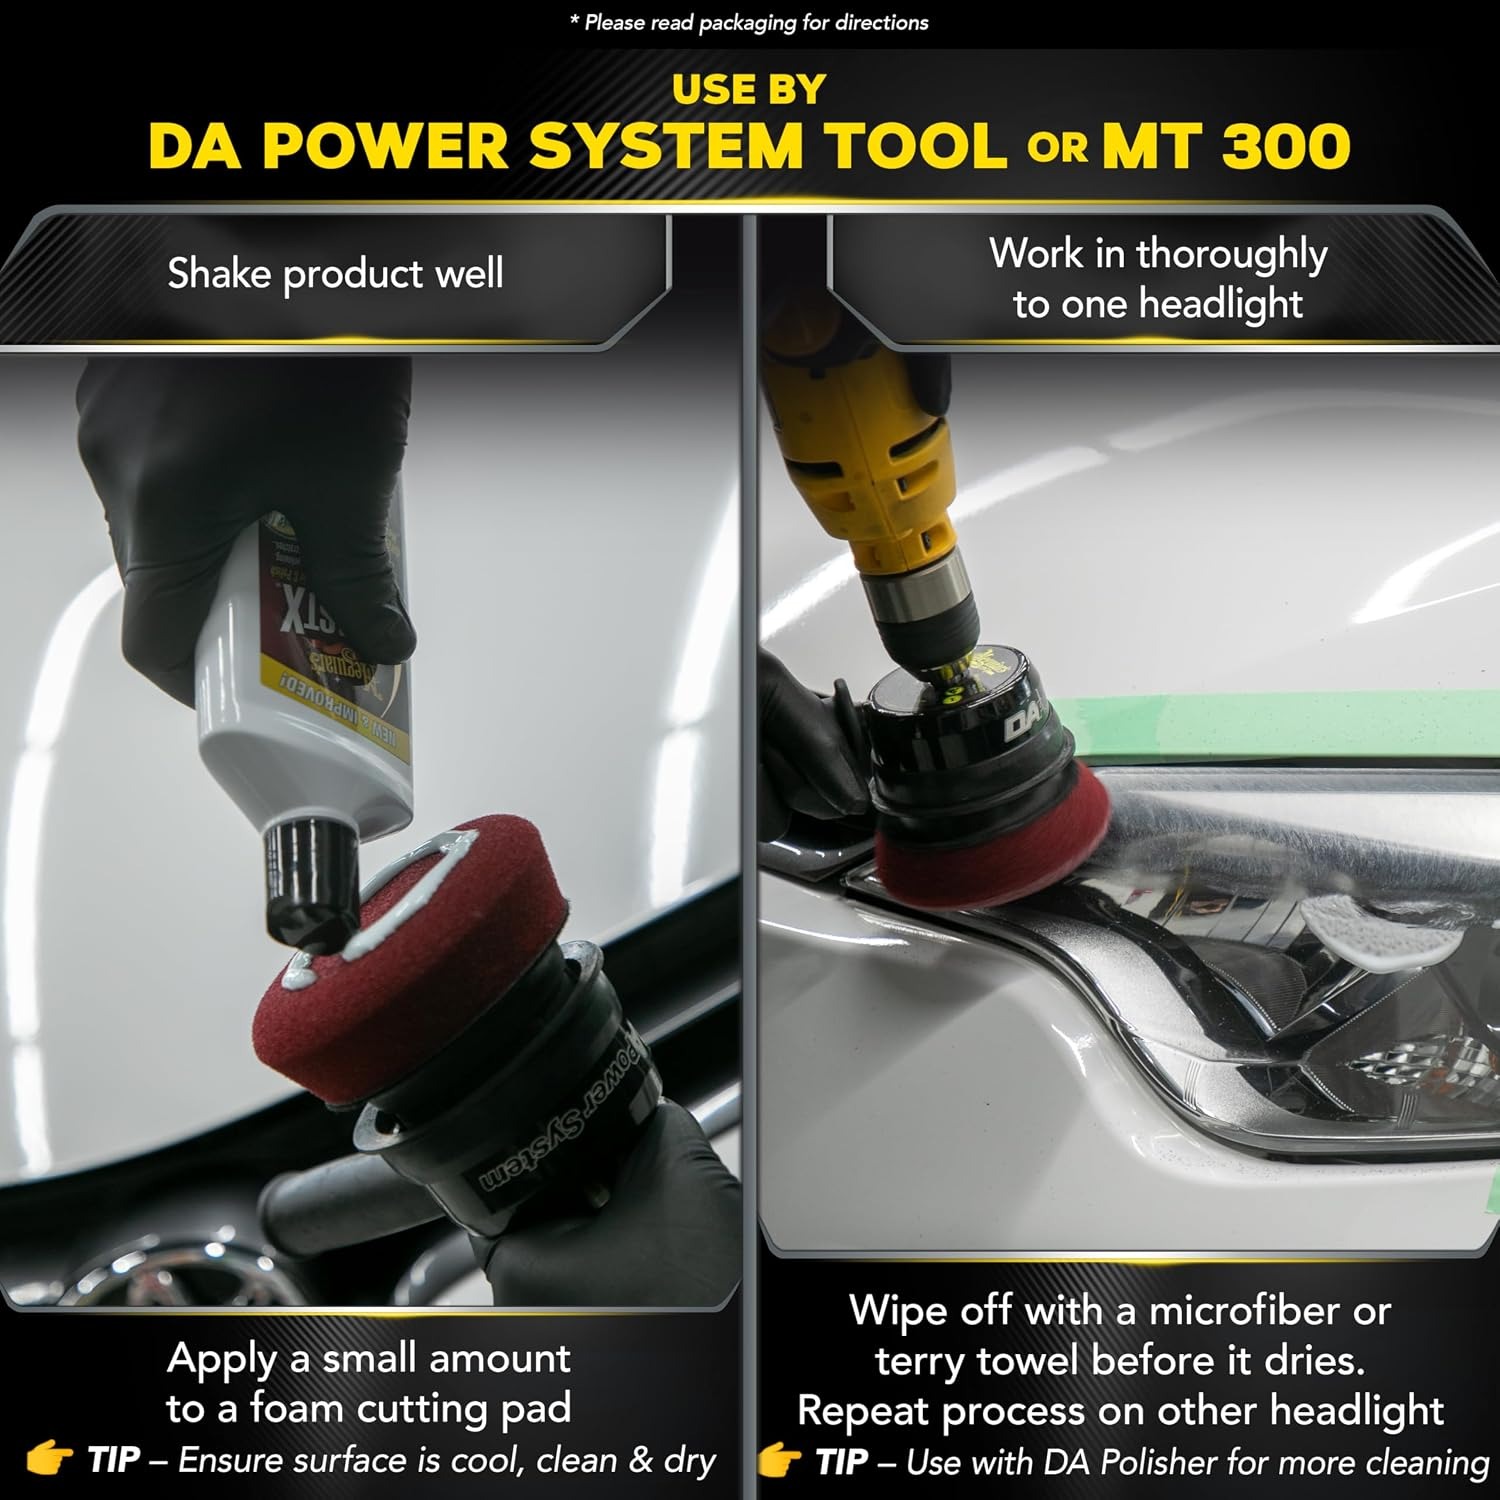
Start by washing the lens. Loose grit on the surface is the enemy of any polish, because you will drag it around under the cloth and put in new scratches. Rinse, then dry.
Mask the paint around the lamp. Tape along the edges of the lens where it meets paint and trim. Polish on paint is a nuisance to remove, and the tape takes two minutes.
Test on a small area first. Pick a corner of the lens that is less visible, apply a small amount, work it, and wipe it off. Look at the result. That single step tells you how your particular plastic responds before you commit to the full lens.
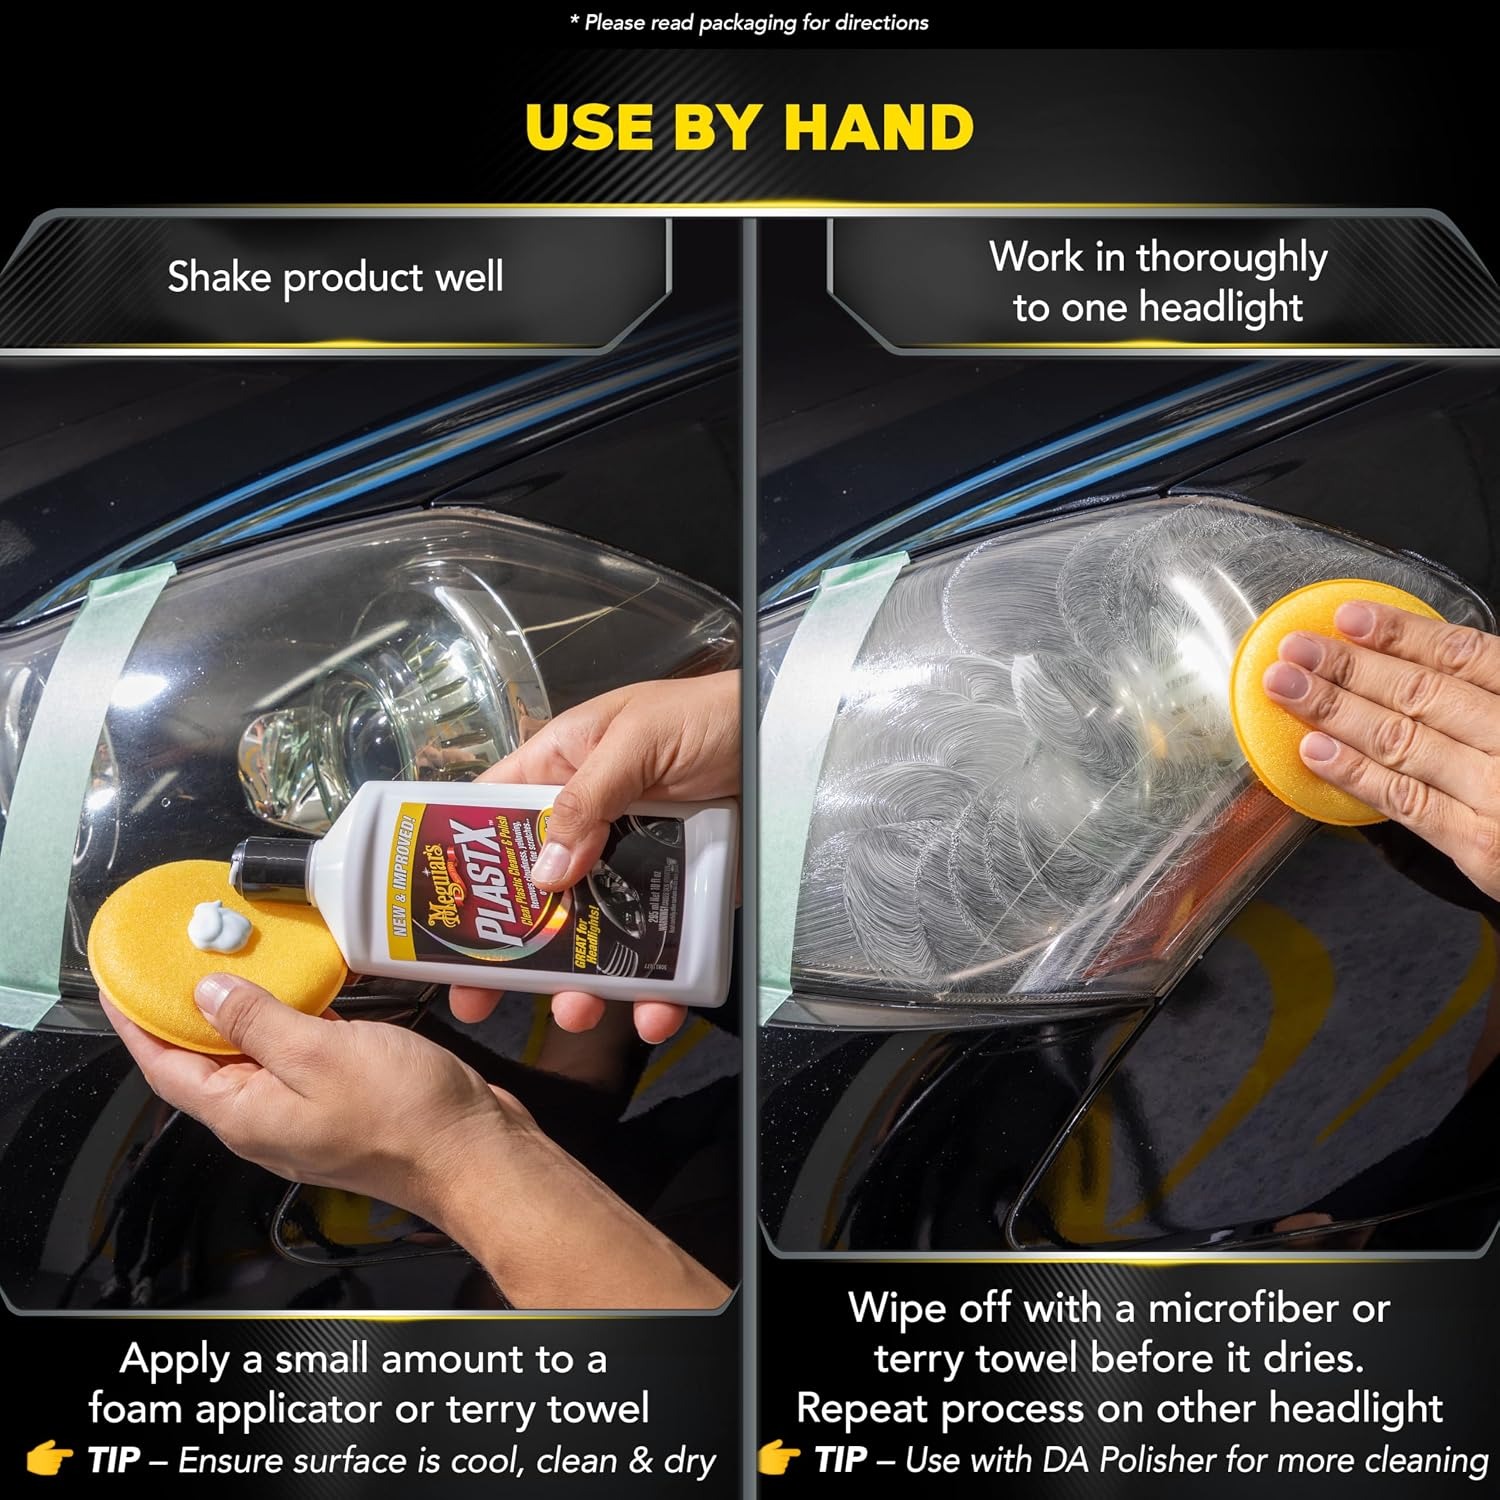
Then work the rest. A little product on a soft cloth goes further than you expect. Work it over the surface with steady pressure, covering the whole lens rather than scrubbing one spot. When the section looks even, wipe it off with a clean, dry cloth and look at it in daylight.
Heavier haze usually takes more than one pass. Do a pass, inspect, repeat. That is a far better approach than leaning on the cloth harder. Patience is doing the work here, not force.
Work in the shade if you can, and not on a hot lens. A cool surface keeps the product workable and makes it easier to wipe off cleanly.
Looking after the bottle
Shake well before each use. The cutting particles need to be mixed through the liquid, not sitting at the bottom. Pour onto the cloth rather than straight onto the lens, which gives you better control of how much you are using.
Wipe the neck and cap after pouring, close it tightly, and store it upright somewhere cool and dry, out of direct sun and away from frost. Keep it away from children and pets, and wash your hands when you are finished. That is the whole care routine, and the bottle will stay usable for future touch-ups.
Who this is for
This suits the owner who does their own maintenance and would rather spend an hour with a cloth than pay someone. It suits anyone whose lenses have gone hazy but are otherwise undamaged. It suits people who already own a restoration kit and want something simple for the follow-up work.
It also suits anyone with clear plastic beyond the headlights. Brake light lenses fade too. A plastic convertible window that has gone cloudy is a daily annoyance for the person sitting behind it. Plexiglass panels around the house pick up the same dull film. One bottle covers all of those jobs, which is a better use of shelf space than four single-purpose products.
It is not for coated lenses where the coating is intact, and it is not a fix for cracks, internal moisture or damage on the inside face.
The short version
This is a 296 ml one step cleaner and polish for clear plastics, with a fine micro-abrasive formula applied by hand with a soft cloth. It targets cloudiness, yellowing, oxidation and fine scratches on uncoated clear plastics, rigid and flexible, including headlights, brake light lenses, plastic convertible windows and plexiglass. Use it on its own, or as a top-up alongside a headlight restoration kit.
Wash the lens, mask the paint, test a small area, then work in passes rather than forcing it. Be realistic about what you are starting with, because results depend on the condition of the lens, and nothing applied to the outside will reach a crack or moisture trapped inside. For a dull outer surface, though, a soft cloth and a bit of patience go a long way.