
The complete guide
H1 LED Headlight Bulbs - A Practical Buyer's Guide
The problem this set solves
You pop the bonnet, pull the dust cap off the back of a headlight, and the bulb that comes out is yellow and tired. The housing is fine. The wiring is fine. It is just the bulb, and it is an H1.
At that point you have a choice. Put another halogen bulb in and get the same look you have always had, or swap to LED and get a different colour and a different kind of light source entirely. A lot of people building project cars, show vehicles and off-road rigs go the LED route because the white light looks sharper against paint and because fan-cooled LED bulbs have become small enough to fit housings that used to be awkward.
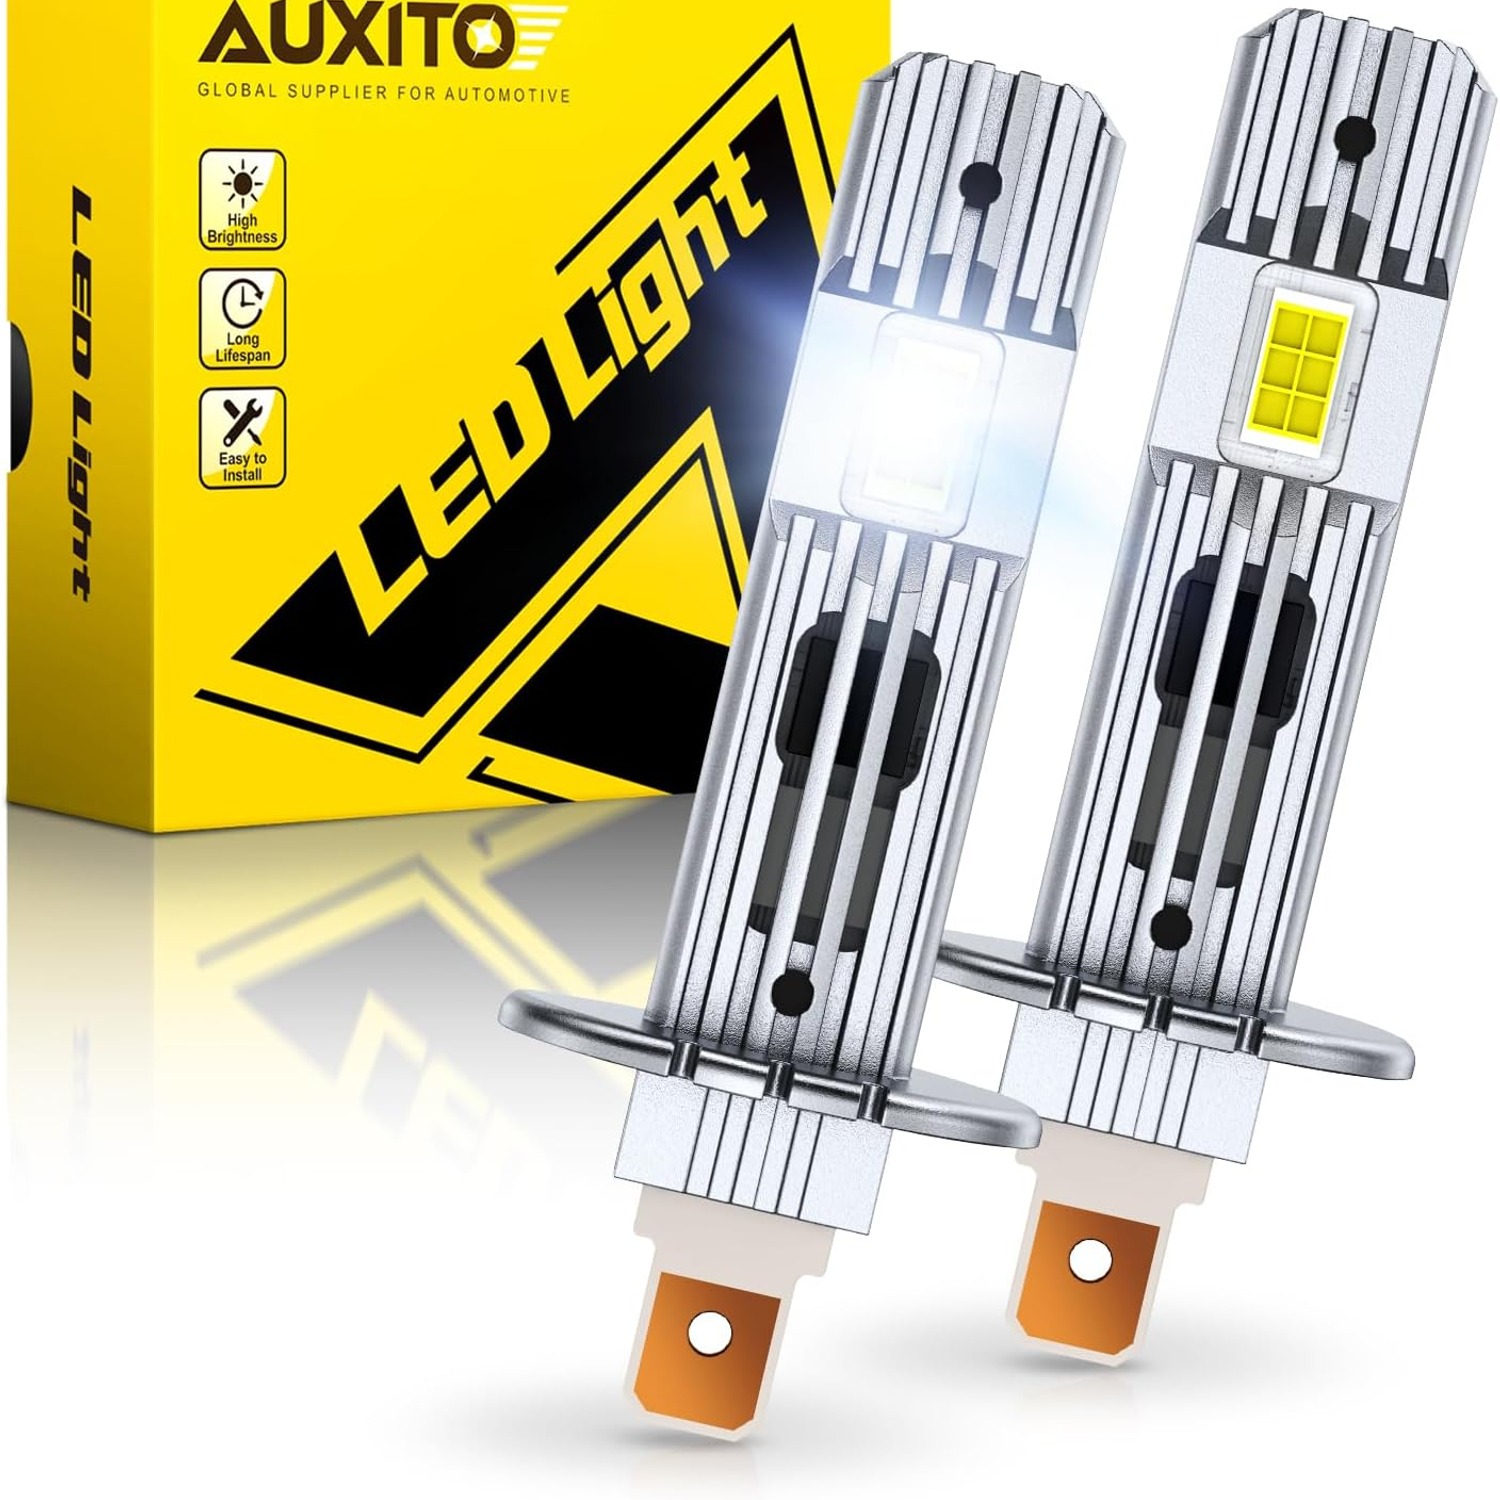
This page covers one specific option, a pair of H1 LED headlight bulbs at 6500K with a built-in fan and an IP68 rating. Before anything else, the important bit.
Where these can and cannot be used
This is an LED conversion bulb. It goes into a housing that was designed and built around a halogen bulb.
In Canada, that swap is generally not permitted on public roads. So this set is sold for off-road, show and private property use. A project car on a trailer, a show build, a vehicle running on private land, a track toy. Those are the uses in scope.
We would rather say that plainly at the top than bury it. If you need bulbs for a daily-driven car that goes on public roads, this is not the product for you, and no amount of specification detail changes that.
How an LED conversion bulb actually works
A halogen bulb is a filament in a gas-filled glass envelope. Current heats the filament, the filament glows, and most of what you get is heat with light as a side effect. It is simple and it has been around forever.
An LED bulb works differently. Small semiconductor chips sit on a metal base and emit light directly when current passes through. There is far less infrared heat coming out the front, but there is real heat building up at the base of the chips, and that heat has to be moved away or the chips lose performance.
That is the entire reason an LED bulb has all that hardware hanging off the back. Two common approaches exist. One is a braided copper tail that spreads heat passively. The other is a small fan inside the bulb body pushing air across an internal heatsink. This set uses the fan approach.
Fan-cooled bulbs tend to be shorter front to back, which helps in housings where there is not much room behind the bulb opening. The trade-off is that a fan is a moving part and it needs clear air behind it. If you cram a fan-cooled bulb into a space with no airflow, you are working against the design.
What 6500K means and what it does not
Colour temperature gets misread constantly, so it is worth being clear.
Kelvin describes the tint of the light. Low numbers look warm and yellow. High numbers look cool and blue-white. A factory halogen bulb usually sits low on that scale, which is why it reads as yellow next to anything modern.
At 6500K, this set sits at the cool white end. That is the look most people are after when they search for the best h1 led headlight bulbs for a build. Against white paint it looks clean. Against chrome it looks sharp.
What Kelvin does not tell you is how much light there is. Those are two separate measurements, and a higher Kelvin number does not mean more light. Treat 6500K as a description of appearance, nothing more.
The IP68 rating, and why it matters in a headlight
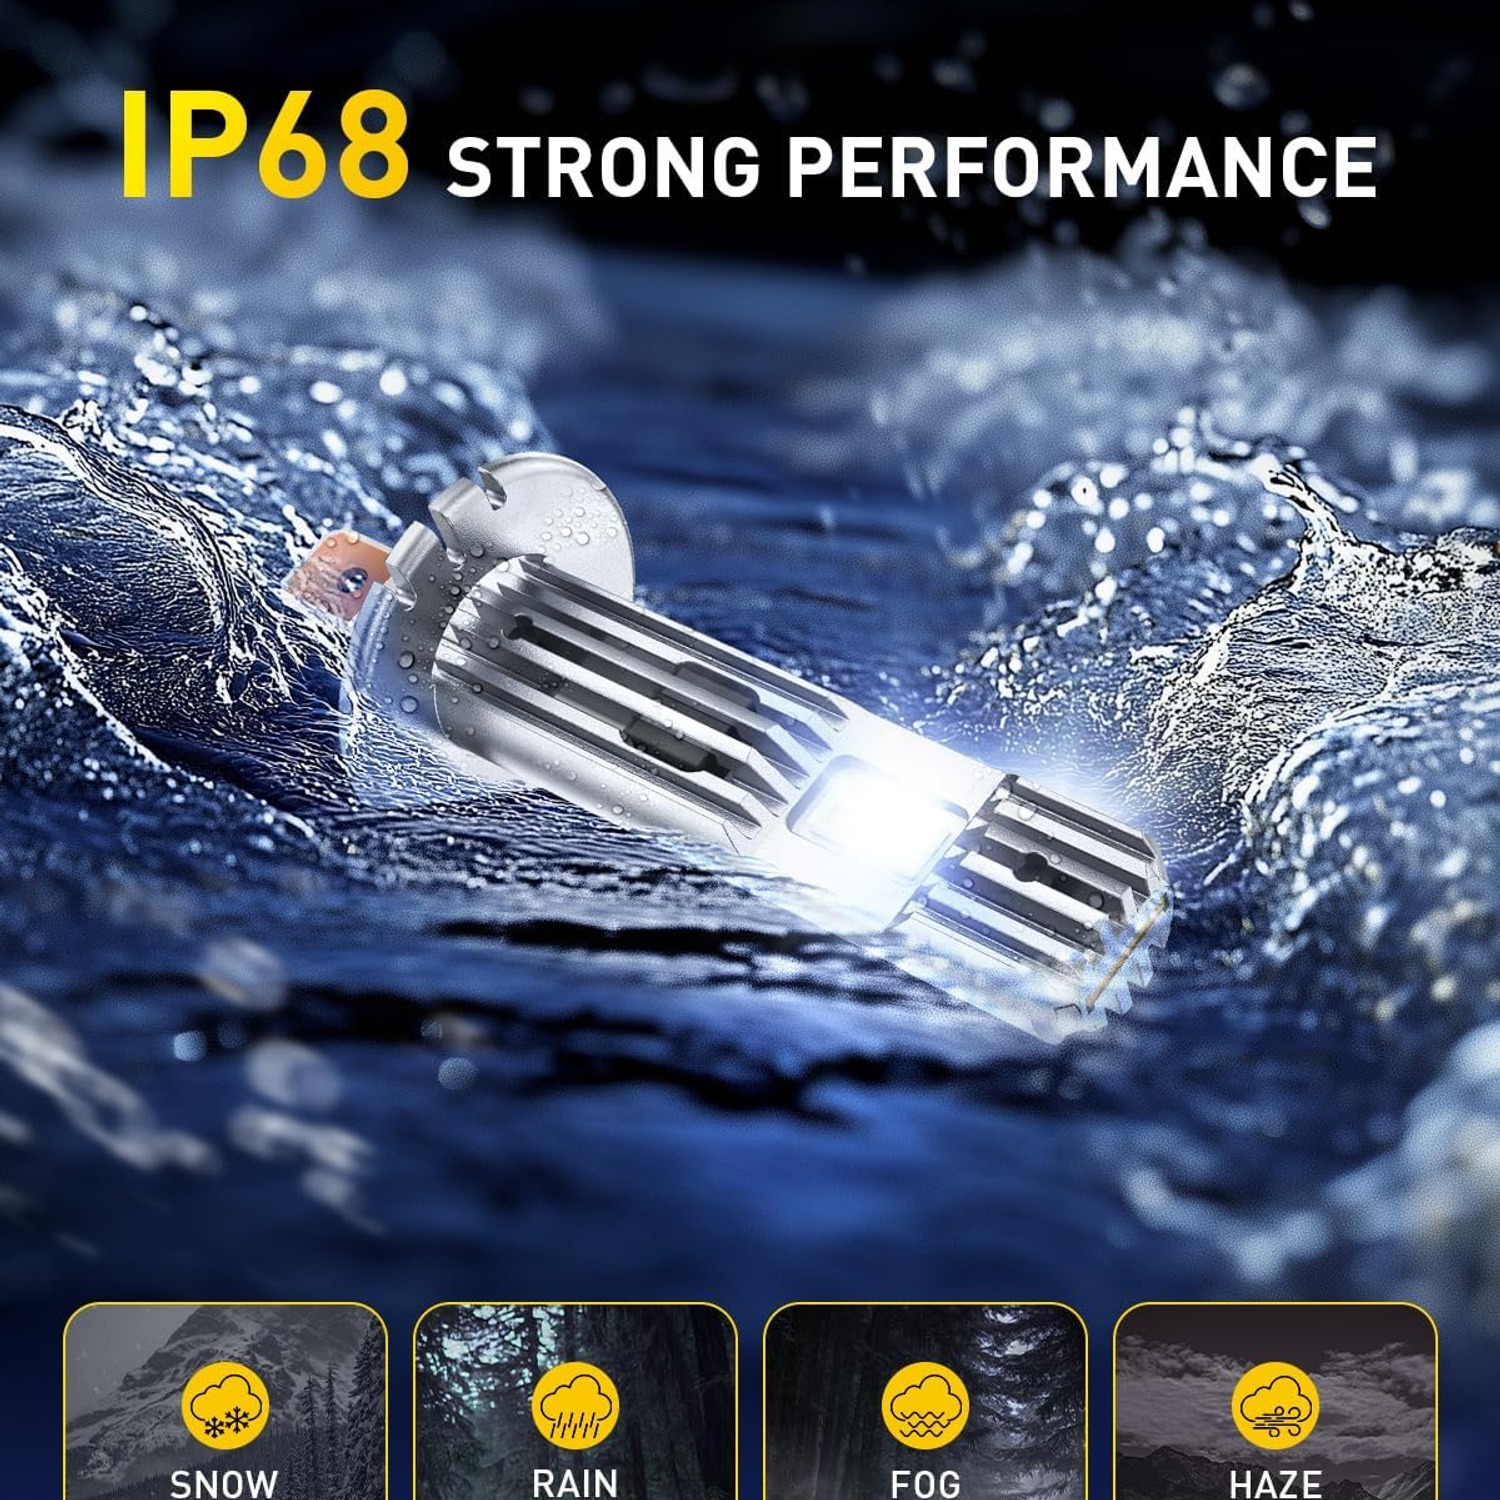
IP ratings describe how well something is sealed. The first digit covers solid particles like dust. The second covers water. These bulbs are listed as IP68.
Why does that matter inside a headlight, which already has a lens in front of it? Because headlight housings breathe. The air inside heats up when the lights are on and cools when they are off, and that cycle pulls damp air through the vent. On a vehicle that spends time in mud, dust or rain, that moisture ends up moving around inside the assembly.
A sealed bulb body copes with that better than an open one. Just do not let the rating tempt you into leaving the dust cap off. The cap is what protects the whole housing, the connector and the back of the reflector. Refit it properly.
Checking fitment before you buy
Fitment here is by fitting type only. We will not tell you it fits a specific vehicle, because we do not have that data and guessing would not help you.
Here is what to actually check.
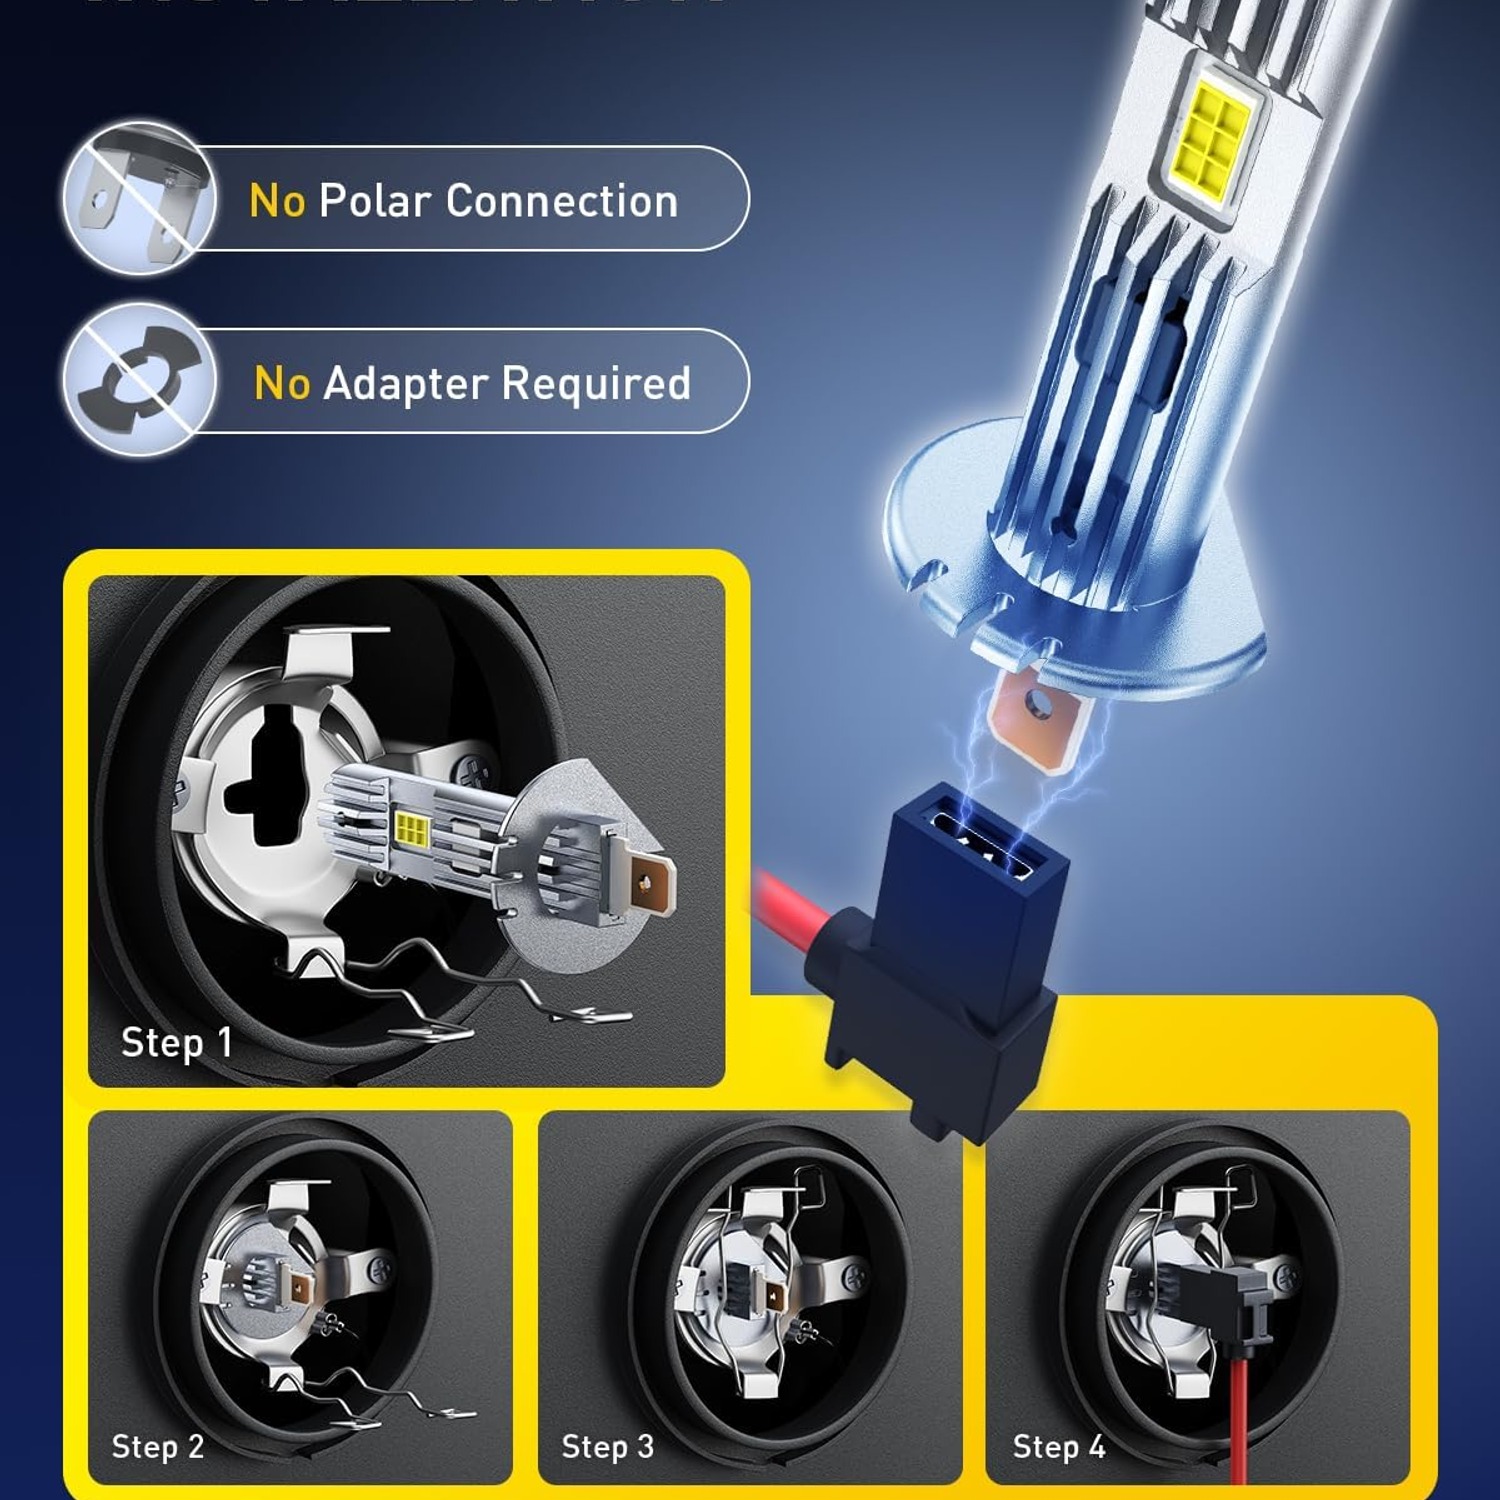
First, the bulb code. Pull the existing bulb and read what is stamped on the base. If it says H1, the shape matches. H1 has a flat locating tab and a single wire tail, and it looks distinctly different from the two-tab or three-tab fittings used elsewhere.
Second, clearance. Reach behind the headlight and work out how much space sits between the bulb opening and whatever is behind it, whether that is a dust cap, a washer bottle, a battery or an inner wing. Fan-cooled h1 led bulbs need a little room and a little air. This is the step people skip and then regret.
Third, your dust cap. Some caps are deep and generous. Others barely clear a standard halogen bulb. If yours is the shallow type, measure it.
Electrical quirks worth knowing about
Many vehicles check their headlight circuits by watching how much current flows. A halogen bulb draws a known amount. An LED bulb draws differently. The vehicle can read that difference as a failed bulb and put a warning on the dash.
Some setups also produce flicker, usually because of how the supply to the headlight is managed.
Neither of these means the bulb is faulty. The usual fix is a CANbus decoder, a small in-line module fitted between the vehicle wiring and the bulb. A decoder is not included with this set, so if your vehicle is known for this behaviour, budget for one separately.
Fitting the pair
Work with the engine off and, ideally, the battery disconnected. Let everything cool if the lights have been on.
Remove the dust cap, unplug the connector, release the retaining clip and withdraw the old bulb. Note the orientation as it comes out. Seat the new H1 LED bulb the same way, making sure the locating tab drops into its slot and the bulb sits fully home rather than cocked at an angle. Secure the clip, reconnect, and check the fan has air behind it before you refit the cap.
Do both sides. That is why it is a two-bulb h1 led conversion kit. One LED and one halogen across the front looks obviously mismatched.
Keeping them in good shape
There is not much to do. Keep the rear of the bulb and the fan vents clear of dust, leaves and road film so air can still move. If you run on dusty ground, check that area whenever you service the vehicle.
Clean the bulb with a dry or barely damp lint-free cloth and skip the solvents. Handle by the base rather than the lens. Make sure power is off and the bulb is cool before you touch it.
Keep the housing itself sealed too. A missing dust cap or a perished rubber boot will cause you more trouble than anything the bulb does.
The short version
This is a pair of H1 LED bulbs at 6500K, fan cooled, rated IP68. They are sold for off-road, show and private property use, because fitting LED bulbs into halogen housings is generally not permitted on public roads in Canada.
Check three things before ordering. That your bulb is genuinely an H1. That there is room and airflow behind the bulb opening. And that you know whether your vehicle is likely to need a CANbus decoder, since one is not included here.
Get those right and the swap is a straightforward job with a hand tool or two and twenty minutes.